Now that I have a bit of extra time I have decided to give a little tlc to the honda benly that has been sat in the garden for the last couple of years.
I have another running benly and two benlys in boxes, this gives me a wide range of good spare parts to use. The first job is to strip the paint off and paint it all black. I am going for a simple black and chrome cafe racer look.
The front headlight shroud was replaced with a black item off of the shelf. I also chopped the indicator stems to bring them closer in at the front.
The handle bars were re-mounted upside down, this is to lower the riding stance.
I used NITRO-MORS to remove all of the old paint from the tank, this is a green gloopy substance that you dab onto the tank with a brush and then wait. If any areas go dry then re-apply some of the gunk. After half an hour or so it is noticeable that the paint starts to bubble completely off but it was very patchy. After re-applying the whole tin to make sure the whole tank was well covered I left it for a couple of hours to work its magic.
Final outcome was not as good as I expected, the paint was either completely bubbled off or still intact, this left me with a mixture of bare metal or solid paint which was a bit of a pain. This meant I would have to rub the tank down with glass paper to finish it off. The stripper did show alot of surface corrosion especially on the underside of the tank.
I decided to take a wire brush tool in a drill and try and remove as much of the rust as I could on both the top and underside of the tank.
Once the underside was as rust free as I could manage I painted on KURUST which reacts with the rust and prevents it spreading further.
The liquid turns blue when it has fully reacted.
I painted iron oxide paint straight over this once the rust treatment had gone off completely. I used the same iron oxide paint as a primer for the whole of the tank. I did rub down the top side of the tank in stages up to 1000 grit glass paper.
I smeared grease over the petrol cap, this sealed the tank and it means I can paint overall of it and just wipe the petrol cap clean afterwards.
I left the topside to dry over night, I flatted this with some 1000 grit and then started applying the top coat of satin black. I painted the side panels at the same time.
I screwed the honda badges back on and I have to say I am happy with the finish, it only took a day and it cost £9 so it was well worth it in my eyes.
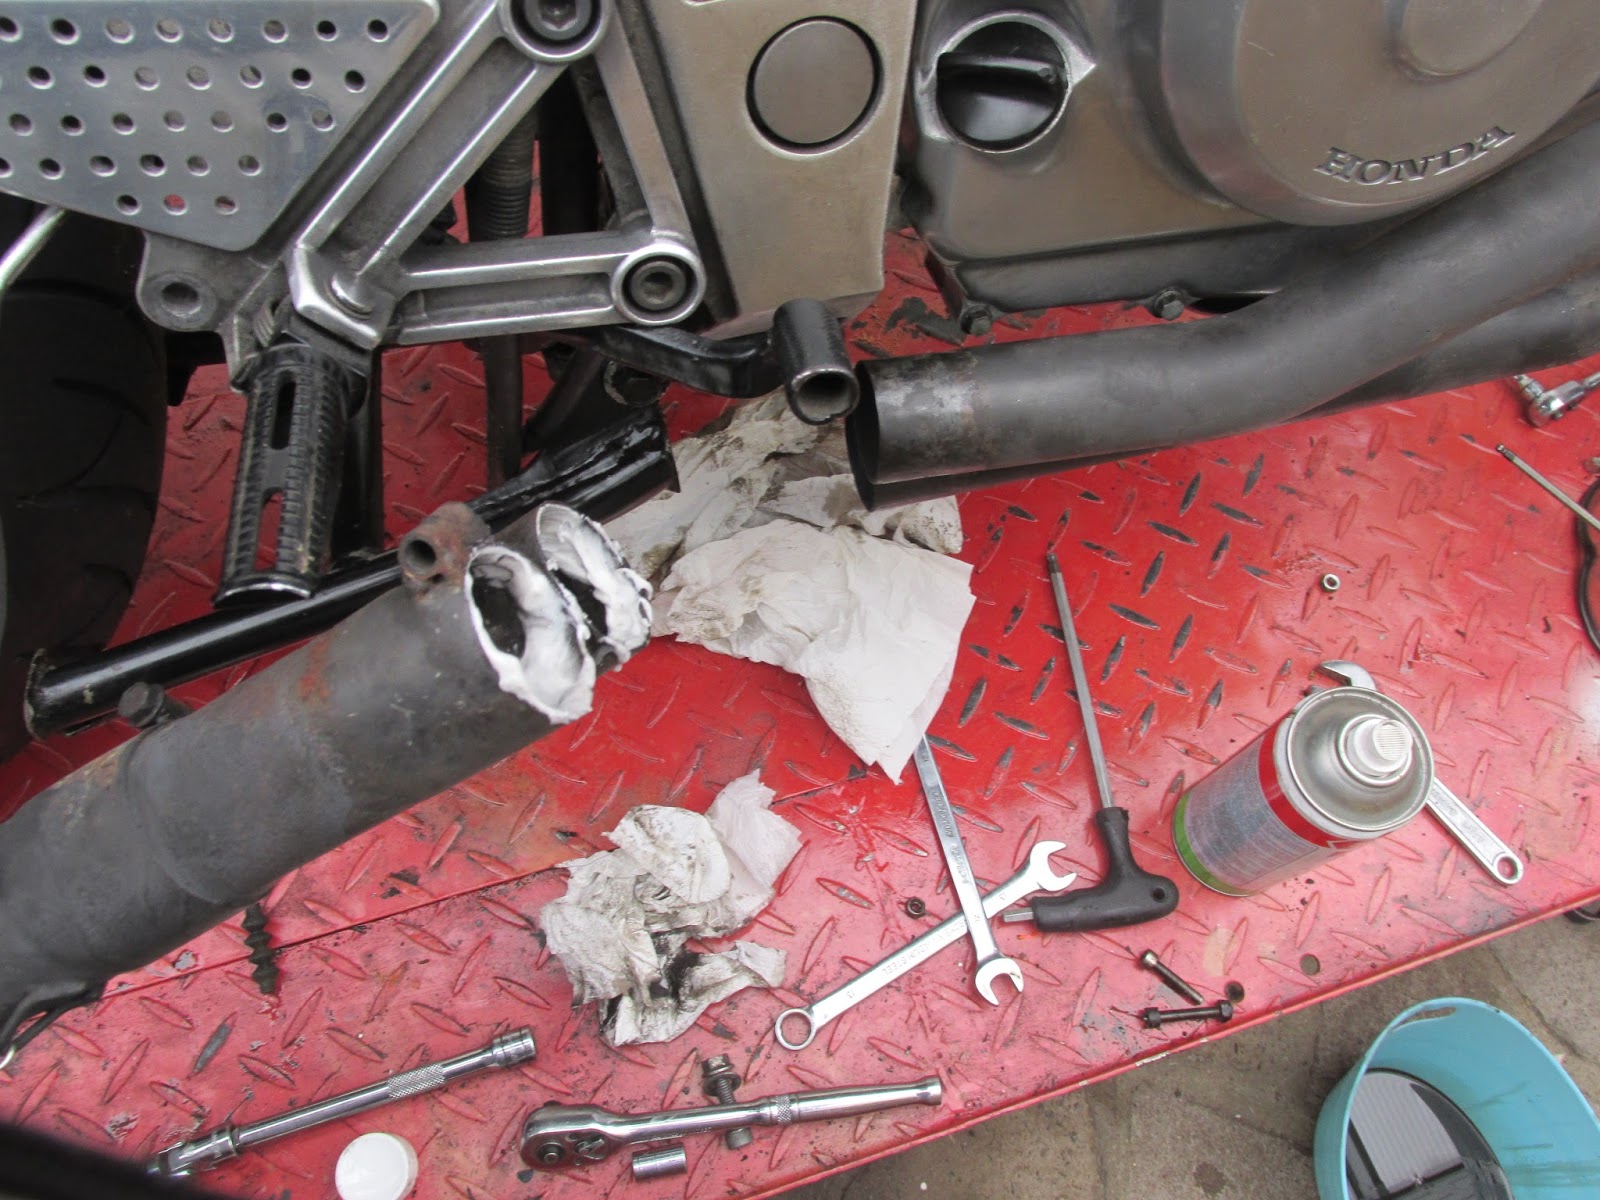
I flushed the tank through with fresh petrol, after cleaning out the carb and a fresh battery the bike fired up straight away.
I am yet to take the bike out for a proper run, it is waiting on a new pair of tyres and rear shocks. It will also be getting new renthal grips and some small bar end mirrors. The tyres on the bike have huge cracks in. I used openeo tyres source some new rubber.
I will put a picture of the overall bike when the sun comes out.